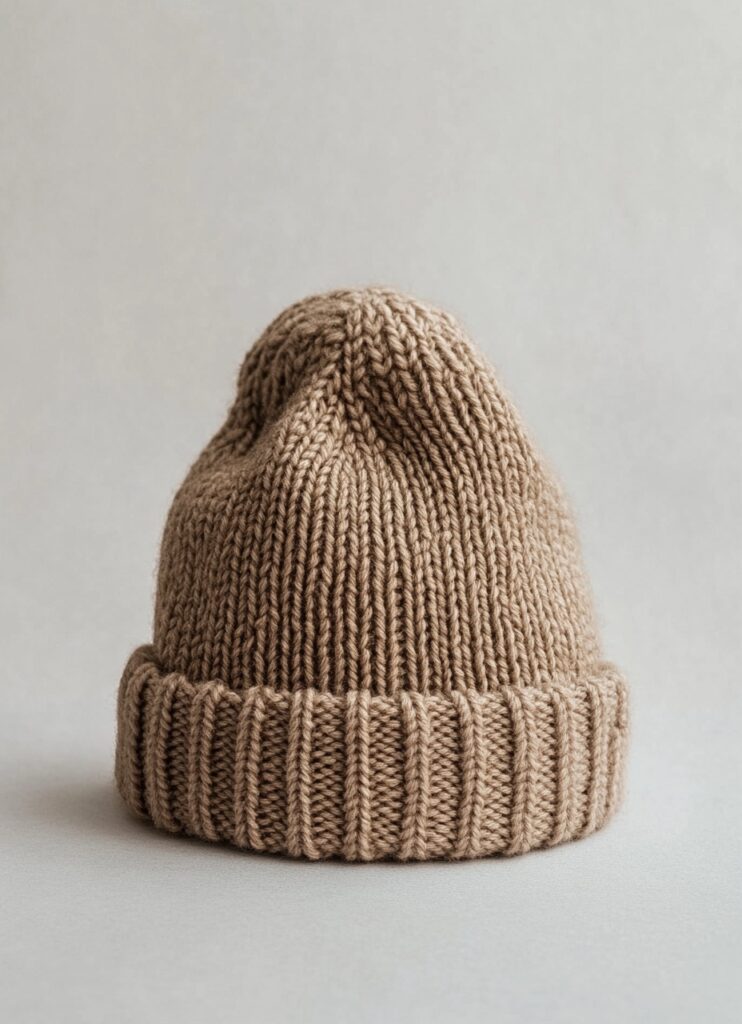
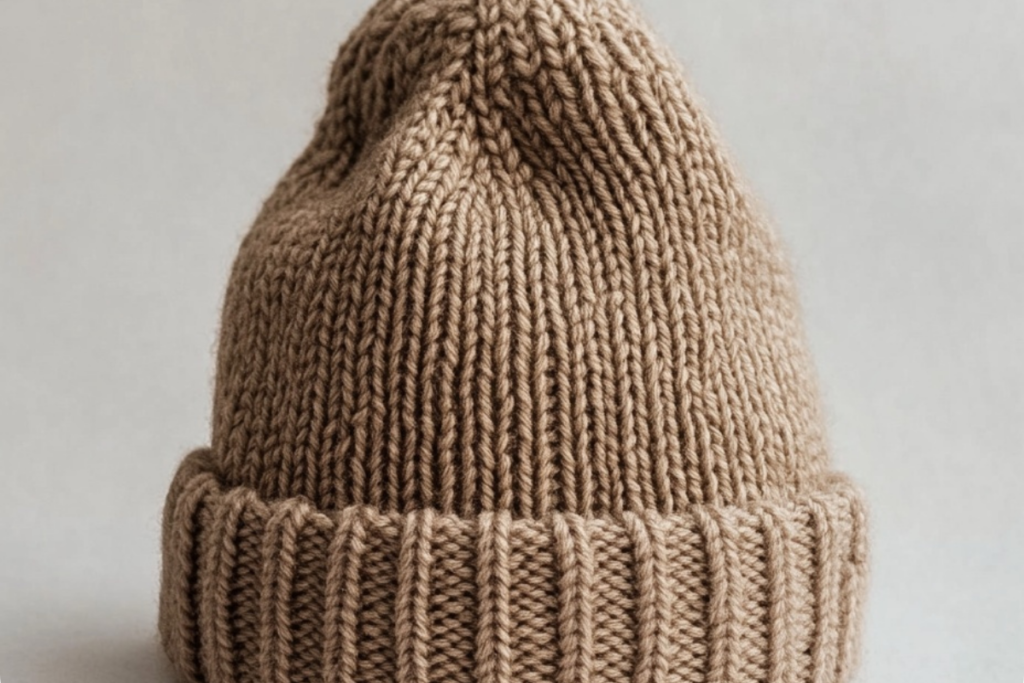
Welcome to this beginner-friendly crochet beanie tutorial! This Cozy Classic Crochet Beanie is perfect for keeping warm during chilly weather. With its simple yet stylish design, it’s a great project for beginners and an ideal gift for loved ones. This beanie works up quickly, making it a fantastic option for last-minute handmade presents.
Skill Level
Beginner – This pattern uses basic stitches and simple techniques, making it accessible for those new to crochet.
Key Features
- Soft and warm texture
- Quick and easy to make
- Customizable for different sizes and colors
Materials & Supplies
- Yarn: Medium (worsted) weight yarn (Size 4) – Recommended: Lion Brand Wool-Ease or Red Heart Soft in Beige
- Crochet Hook: 5.0mm (H) crochet hook
- Other Tools:
- Yarn needle (for weaving in ends)
- Scissors
- Stitch markers (optional, for keeping track of rounds)
Size & Gauge Information
- Finished Size:
- Adult: Approximately 20-22 inches (circumference), 9 inches (height)
- Gauge: 14 stitches x 16 rows = 4 inches in single crochet
- Resizing Tips: To adjust the size, increase or decrease the number of stitches in the starting chain for circumference and adjust the number of rows for height.
Crochet Abbreviations & Terms (US Terms)
- CH – Chain
- SC – Single Crochet
- HDC – Half Double Crochet
- DC – Double Crochet
- SL ST – Slip Stitch
- BLO – Back Loop Only
- REP – Repeat
Step-by-Step Instructions
1. Start with the Brim
- CH 9 (or desired brim width).
- Row 1: SC in the 2nd CH from the hook and across (8 SC). CH 1, turn.
- Row 2-60: SC in BLO across, CH 1, turn. (8 SC per row)
- Slip stitch the last row to the first row to form a band. Turn inside out so the seam is on the inside.
2. Body of the Beanie
- Round 1: CH 1, evenly work HDC around the brim (approx. 60 HDC). Join with a SL ST to the first HDC.
- Round 2-15: CH 1, HDC in each stitch around. Join with SL ST. (60 HDC per round)
3. Decreasing the Crown
- Round 16: HDC in next 8 stitches, HDC2TOG around. (54 stitches)
- Round 17: HDC in next 7 stitches, HDC2TOG around. (48 stitches)
- Round 18: HDC in next 6 stitches, HDC2TOG around. (42 stitches)
- Round 19: HDC in next 5 stitches, HDC2TOG around. (36 stitches)
- Round 20: HDC in next 4 stitches, HDC2TOG around. (30 stitches)
- Round 21: HDC in next 3 stitches, HDC2TOG around. (24 stitches)
- Round 22: HDC in next 2 stitches, HDC2TOG around. (18 stitches)
- Round 23: HDC in next stitch, HDC2TOG around. (12 stitches)
- Round 24: HDC2TOG around. (6 stitches)
4. Closing the Top
- Cut yarn, leaving a long tail.
- Use a yarn needle to weave through the remaining stitches and pull tight to close the hole.
- Secure with a knot and weave in ends.
Finishing & Styling
- Blocking: If desired, lightly steam block the beanie to relax the stitches.
- Wearing: Fold the brim up for a snug fit or leave it unfolded for a slouchy look.
Customization & Bonus Tips
- Color Variations: Use different colors for a striped effect.
- Texture Changes: Try using a ribbed or puff stitch for a unique look.
- Pom-Pom Addition: Sew a faux fur or yarn pom-pom on top for extra flair.
- Beginner Tip: Use a stitch marker to keep track of rounds if working in continuous rounds.